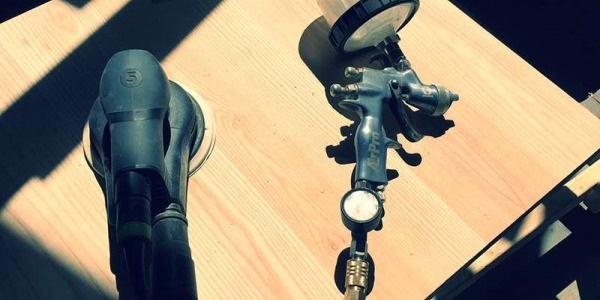
Workshop Notes: Spraying
One of the final steps of building furniture at Saltwoods is spraying. If your table is being lacquered, stained or painted, spraying is one of the finishing touches that, if done correctly, looks great, and if it isn’t done correctly…well, you can tell. Whether you’re spraying yourself, or if you just wonder how we do it, here are some important facts and tips about spraying:
Sanding! This is the first step. It’s crucial. Before anything, the wood needs to be sanded. Most all scratches, nicks, and makes in the wood are magnified after finishing. The wood needs to be sanded between coats to make sure that everything is even, and the better you sand between coats the nicer your final product will be.
It’s very important to keep your spray gun clean. All sorts of things can go wrong if it isn’t. Debris, residue, and particles in the gun and nozzle can work their way through and onto the final product; a nightmare. If it isn’t clean, your product won’t be finished the way you want it to be, and you might have to sand it down and start all over again.
You need three coats of finish to ensure that everything is even and smooth. Why three? Well, the first coat acts as a sealer; it seals all the pores in the grain. The second to are the coats that finish the furniture.
It is very important to let your material dry well before you sand and between coats. Don’t rush it, the time invested will be well worth it.
One Note on Spray Guns:
The tip of the gun’s size changes depending on how fine you want to or are able to spray. For example, thicker materials like paint work better with a bigger nozzle. The last thing you want is for your gun to get clogged. But a smaller hole sprays smoother and finer. Therefore, if possible, I always like to dilute or thin my material so I can spray through a smaller hole.
– Lucas, Workshop Manager at Saltwoods


